Friday 18 September 2015

Crocheted ATLA Book Protector

Hi everyone,

My one friend loves books (who doesn't), and we both love all things fiction, so I decided to make something she could put books in, with a fiction theme. Originally I wanted the cover/protector to be A5 size, but as time passed... it wasn't. (Sorry for the bad images).

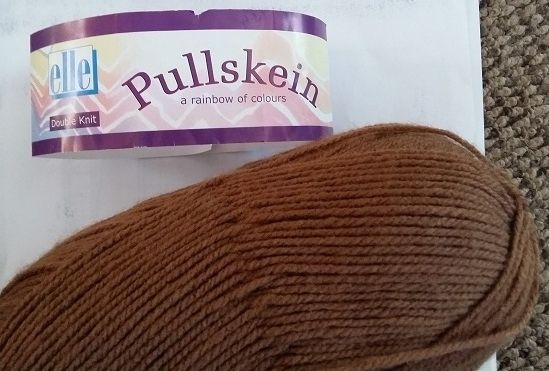
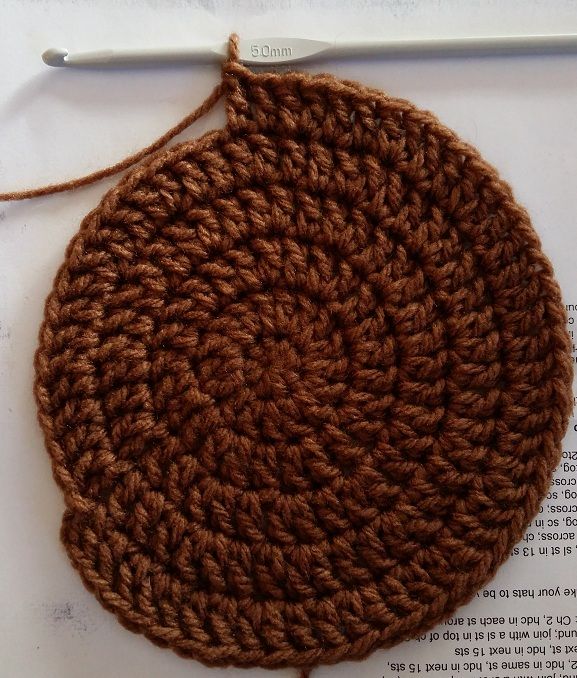
So I chose naby blue wool that I had with me and used a 4 mm crochet hook. I started with a sc row, followed by loads of dc rows until I thought it was about the size I wanted it to be.

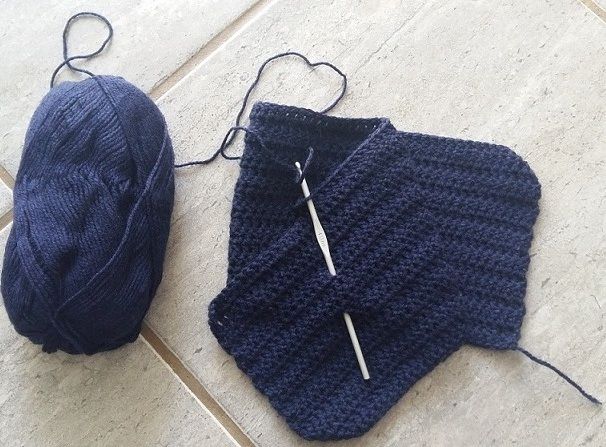
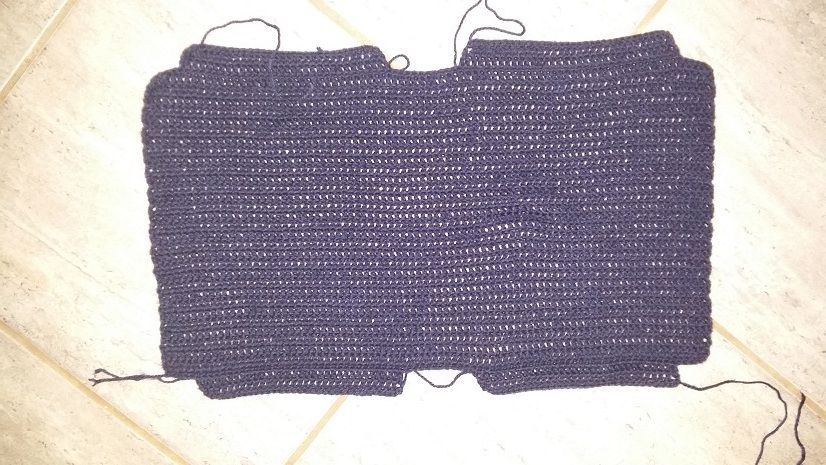
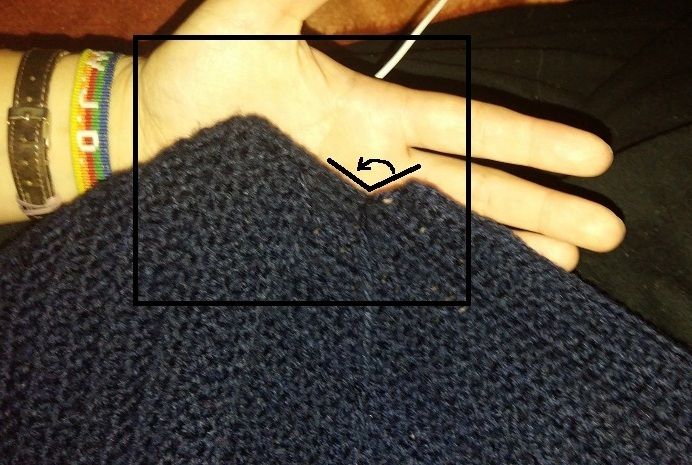
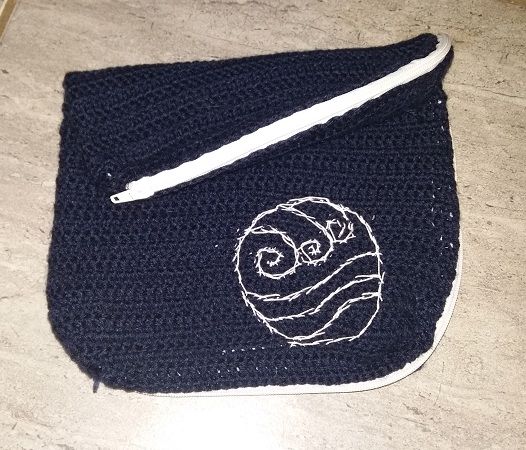
I kept in mind that it was going to be folded double. I I added the little parts at the top and bottom so that it obtained the shape that a book cover would have. The end result looked like this:

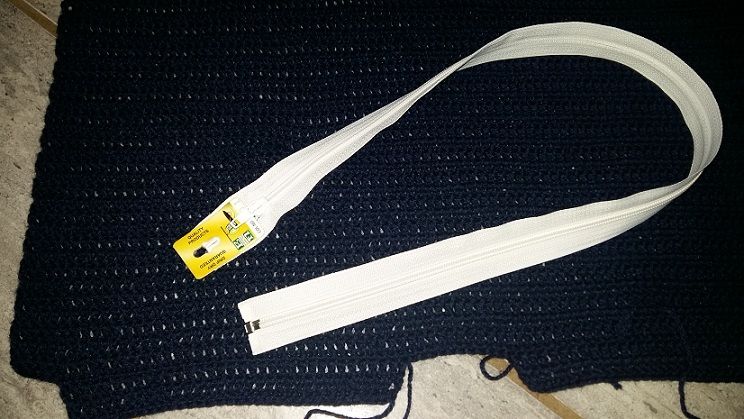
I measured it around where one page would be to determine the length of zip I needed. I bought a white one 'cause I thought it would look nice with the navy blue wool.

I prepared the crocheted wool by tying in the ends before the zip was added, like this...


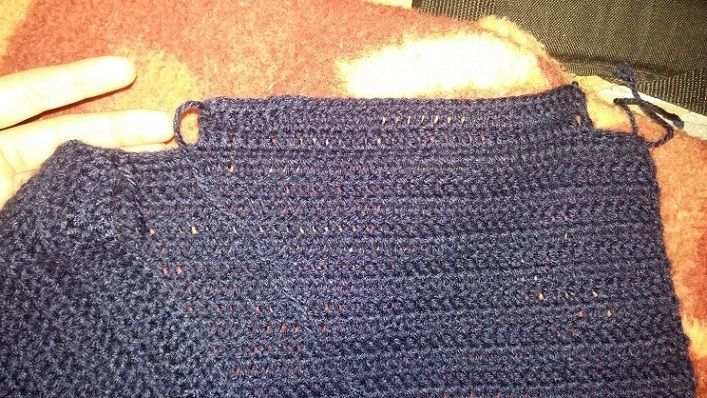
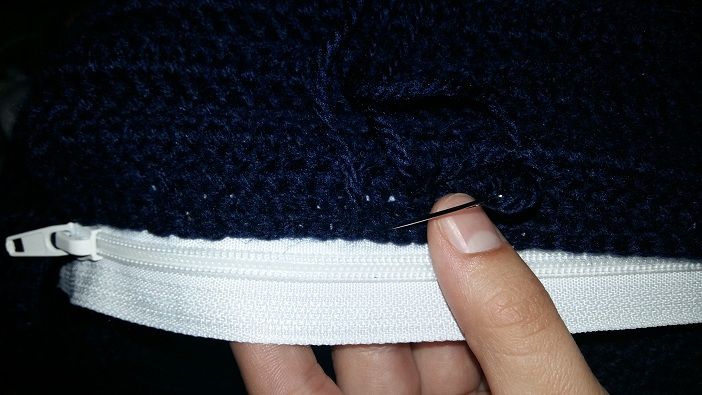
The zip was then added along the edges, with the crocheted area slightly overlapping the zip.

I just used a large needle and tied it using the same wool. (I did this very quickly, and a slightly OCD part of my mind is very upset that the stitch sizes aren't all the same.)

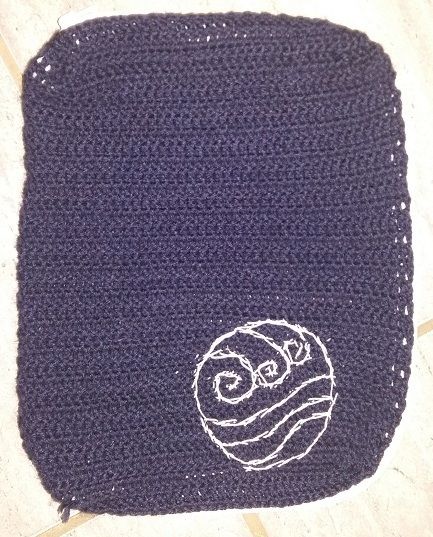
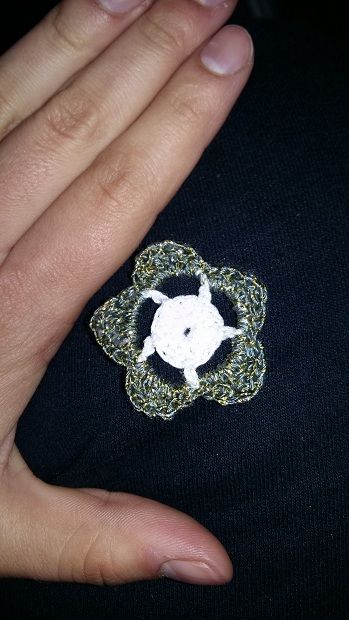
Then I added a water tribe symbol (from ATLA [Avatar: The Last Airbender]):

This is the original symbol:

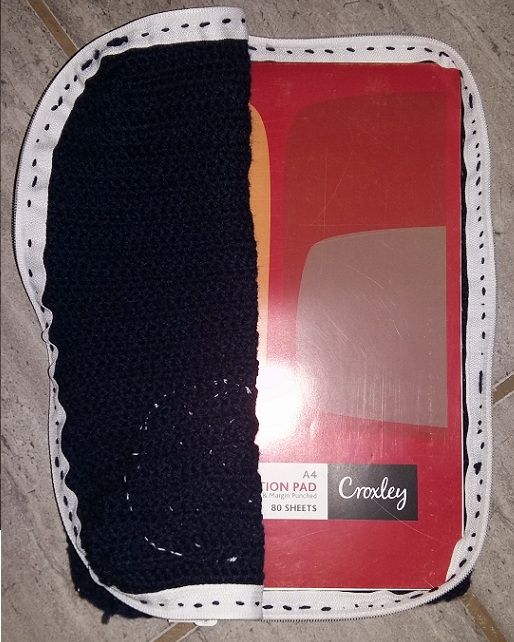
An A4 sized book fit in perfectly.


In total, she can easily fit 2 of the last Harry Potter books next to each other into it.

It took me about... 24 hours. I worked Thursday from about 5/6 pm to 4/5 am, and Friday from 2 pm to 2 am. It needed to be finished by Saturday. The symbol took about half an hour to put on - I didn't put much detail into it.

I would love to make another one for myself and try to get the size right.

Detailed Flower

So I decided to crochet a flower for my one friend, but I didn't know what to do with it. By making it small, she can use it as a bookmark, or a hairpin if she ads a bobby pin to the back, or anything as such.

The flower is composed of two parts. The first part is a picture pattern from a book, and the second is my own pattern (added).

Part 1:


It felt empty to me in the middle. So I tried making a very simple flower:

I did not like it.

Part 2:

Pattern:
Rnd 1: Chain 5, sl st join to form a ring
Rnd 2: ch3, 14 dc in ring, sl st to top of ch3 to join
Rnd 3: ch8, (dc in 3rd st, ch5) x 4, sl st to 3rd st of chain
Rnd 4: (sc in 5ch space, hdc, dc, 3 tc, dc, hdc, sc) in each space (5 times), sl st to join
Finish off.


End product:

Winter: Earflap Hat

So I had many requests for earflap hats in the past winter. After searching, I finally found a pattern that I liked at Micah Makes.

I used a 5 mm hook and used the following wool:


I increased the stitches sizes by doing dc instead of hdc, and so forth (dc -> tc).

The changing of colours:


And the final product is as such!


Crochet Cross Bookmark

I crocheted this little bookmark for a friend of mine. I used a 1 mm hook, and it is about 10 cm at the longest side.


The pattern can be found at Karens Variety.

2015 Update

Hello everyone,

I've finally updated this site. Hopefully it's a bit softer on the eyes now.

Over the past 2 years, life has been busy. I did a few projects, though, and I shall post them today.

Wednesday 19 June 2013

Stuffed Tortoise Pillow

Just made an adorable little stuffed tortoise for my friend's 22nd birthday!

Here is a picture guide on how to do it. There aren't any measurements, as they aren't really needed - you can make it as big as you want to in any colour!
Enjoy!


Sunday 14 April 2013

Black Pineapple Scarf

I made this scarf for my friend's 22nd birthday. (Whitney).
This first image is the pattern I used:

I started by crocheting 3 sc rows to the length of the scarf, turned 90 degrees and crocheted 3 sc rows to the width of the scarf. After the first pineapple, I added another 3 sc rows. Here are the first few pineapples:


I continued this to about the middle and started again from the other side. I filled in the gap at the middle with sc rows, and added the 3 sc rows on the other side of the length of the scarf. The finished product: